
After several months managing my VPS infrastructure with Portainer or Dockge and Nginx Proxy Manager, I realised I was spending more time maintaining the tools than actually deploying new services.
I decided to simplify.
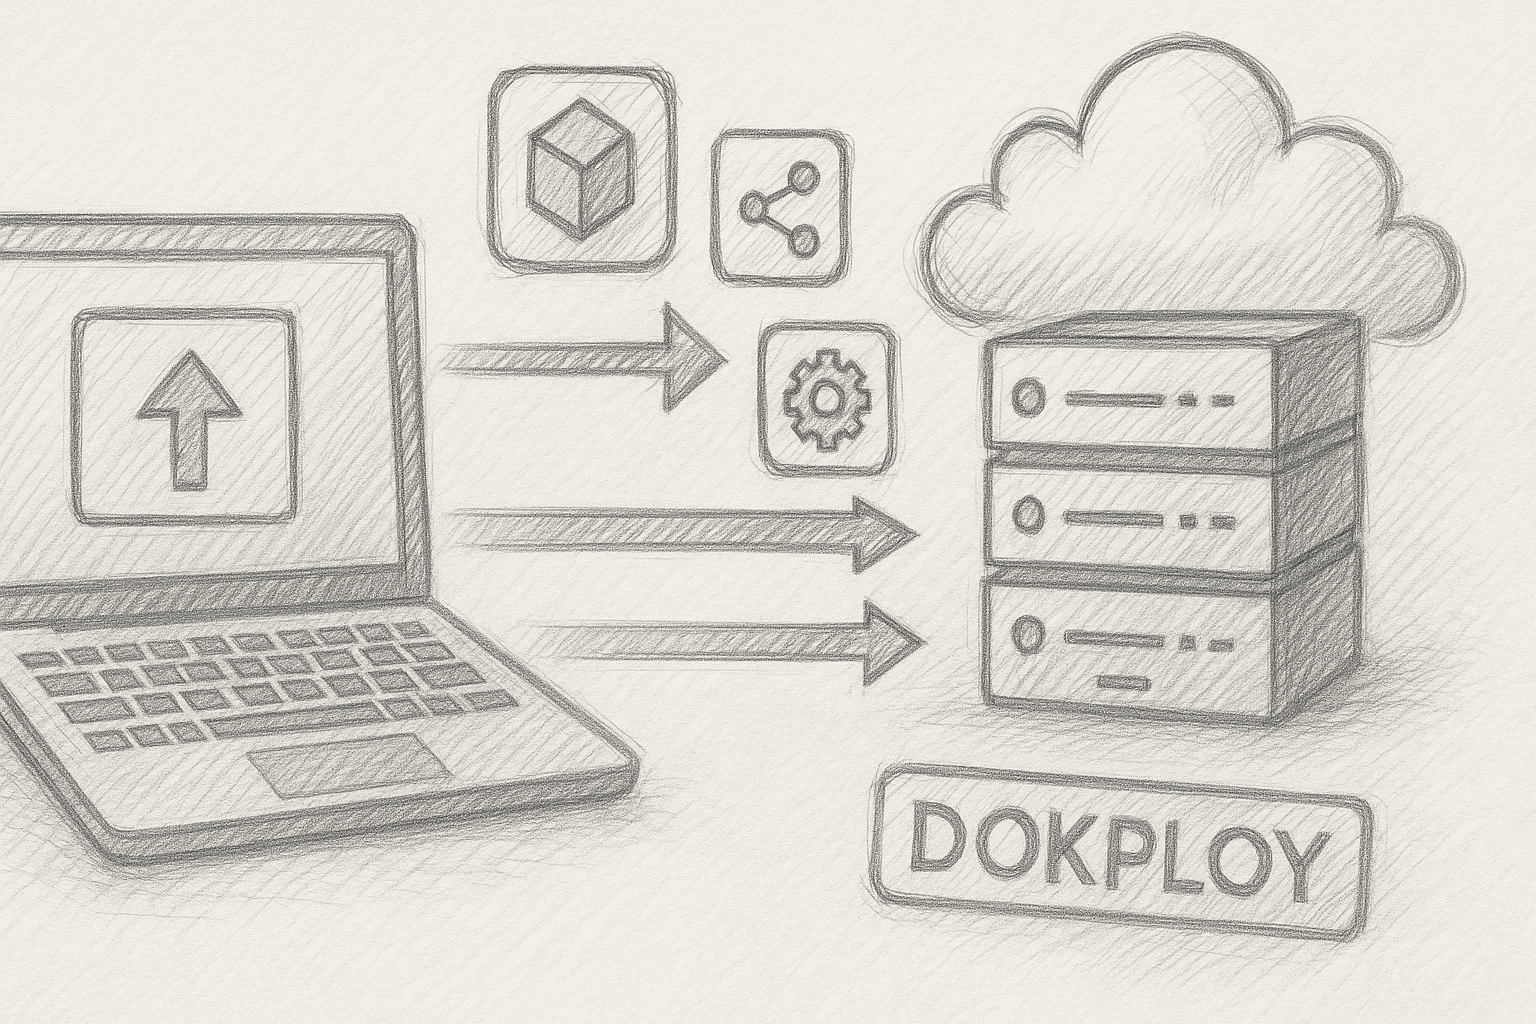
Now I use Dokploy — a self‑hosted, all‑in‑one platform that handles container deployment, reverse‑proxy, SSL, and Git integration — all automatically, with a single install command.
Why switch from Portainer + NPM to Dokploy?
When you self‑host multiple services (apps, dashboards, APIs, etc.) on a VPS, the stack tends to grow organically. Mine looked like this:
- Docker as the base layer
- Portainer for visual management
- Nginx Proxy Manager for domains and SSL
- Separate scripts to pull repos, rebuild images, and restart containers
It worked — but it wasn’t lean.
Dokploy replaces all of that with one cohesive tool:
- It manages Docker containers directly
- It automatically handles reverse‑proxy and Let’s Encrypt SSL via built‑in Traefik
- It connects to GitHub/GitLab for auto‑deploy
- It provides a modern UI and YAML‑based configuration for reproducible setups
The key difference is integration. Instead of juggling multiple UIs and networks, Dokploy centralises everything.
Installation: one command does it all
This was honestly what won me over.
No need to manually install Docker, Nginx Proxy Manager, or Portainer. The Dokploy installation script handles everything.
On a clean VPS (Ubuntu 22.04 LTS in my case), you just run:
curl -sSL https://dokploy.com/install.sh | bash
That’s it.
The installer:
- Installs Docker (if missing)
- Pulls and configures the Dokploy container
- Sets up a reverse proxy with automatic SSL via Let’s Encrypt
- Exposes the UI at your chosen domain or IP
- Optionally configures multi‑server agents for remote management
When it finishes, you get a URL and admin credentials.
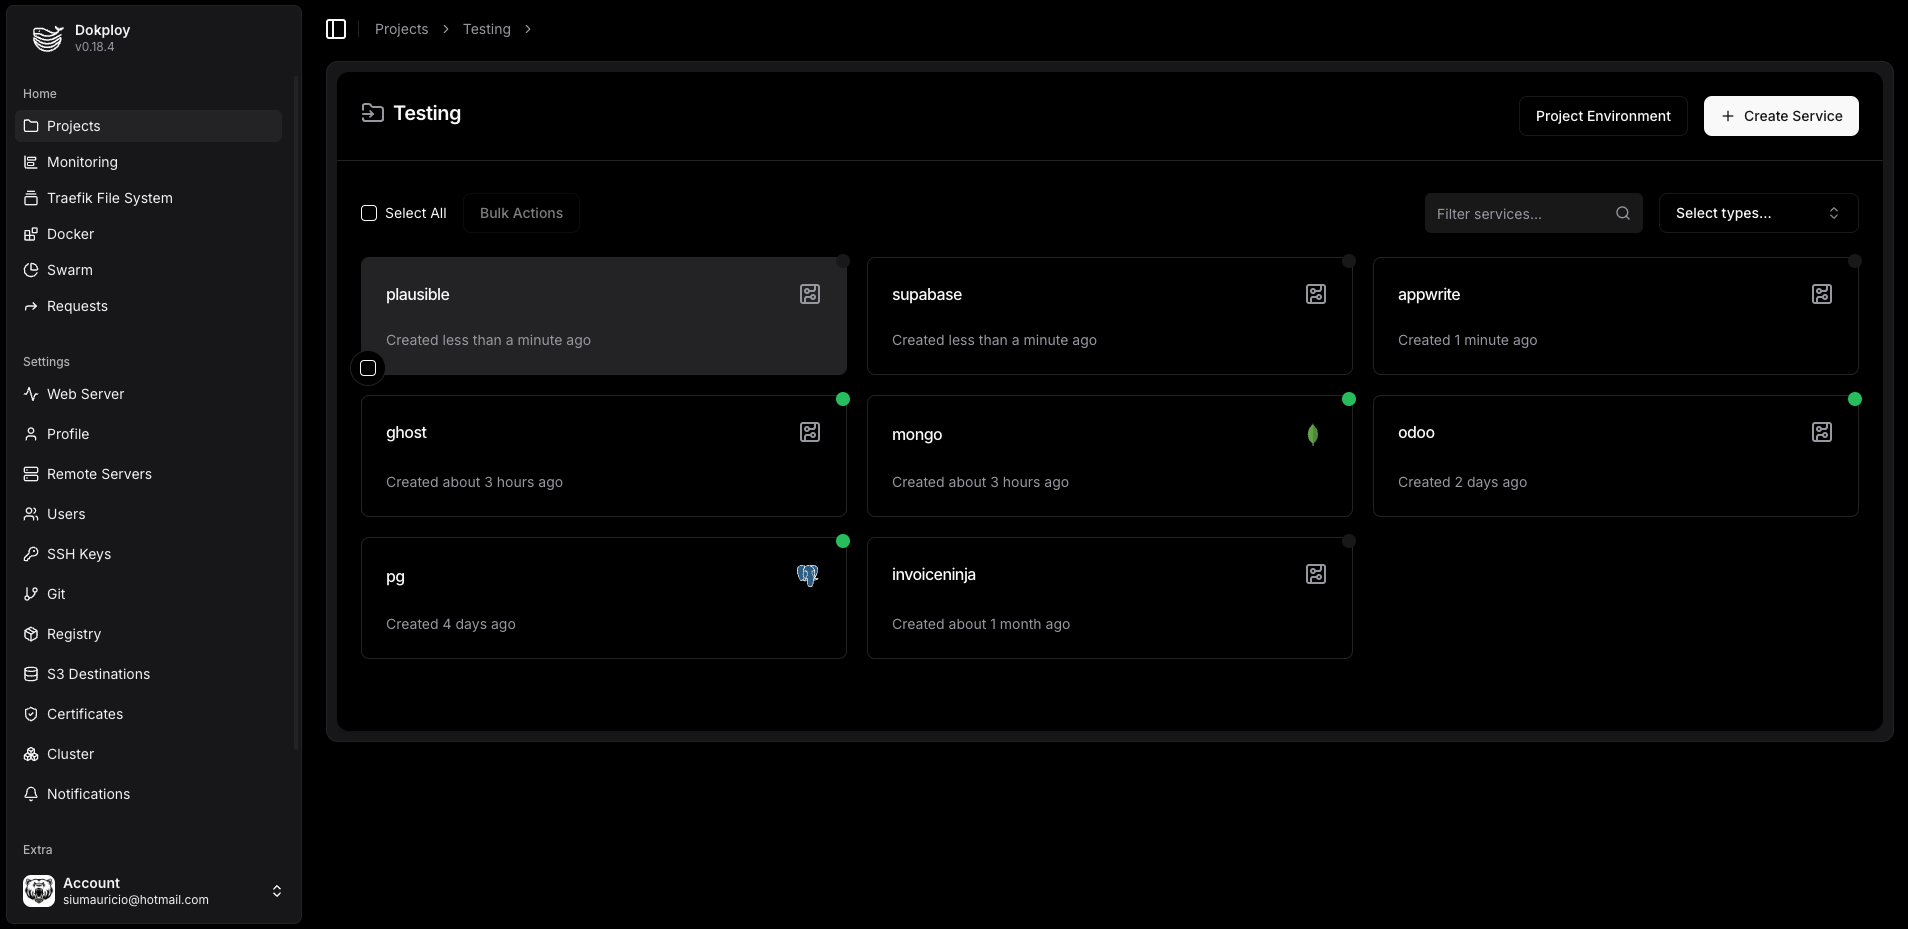
From there, everything is done through the web dashboard.
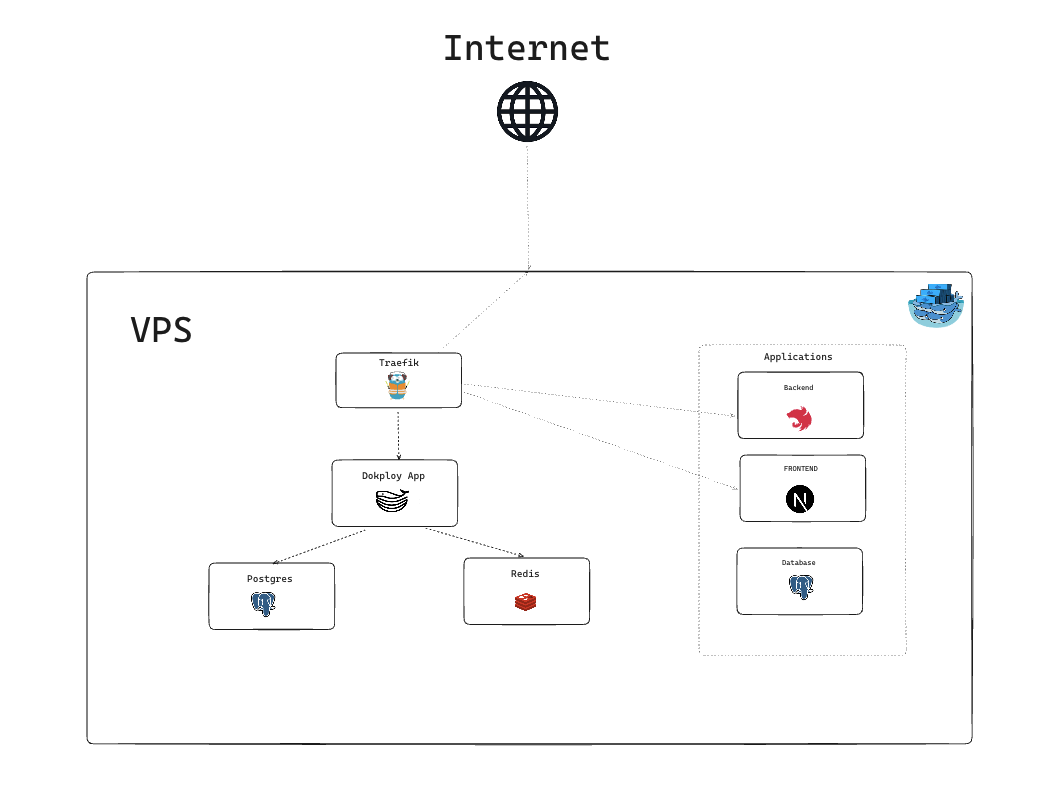
My new architecture
The result is cleaner and easier to maintain:
+-------------------------+
| Dokploy (UI & backend)  |
|  - Docker management    |
|  - Proxy + SSL          |
|  - Git integration      |
|  - Templates            |
+-------------------------+
          |
   +------+------+
   |             |
 Containers   Subdomains
 (services)   (auto‑managed)
Every app (static site, API, monitoring tool, etc.) runs as a Docker container managed by Dokploy.
Each service has its own sub‑domain, SSL certificate, environment variables, and build pipeline — all configured visually or via YAML templates.
Deploying a new service
Here’s my workflow now:
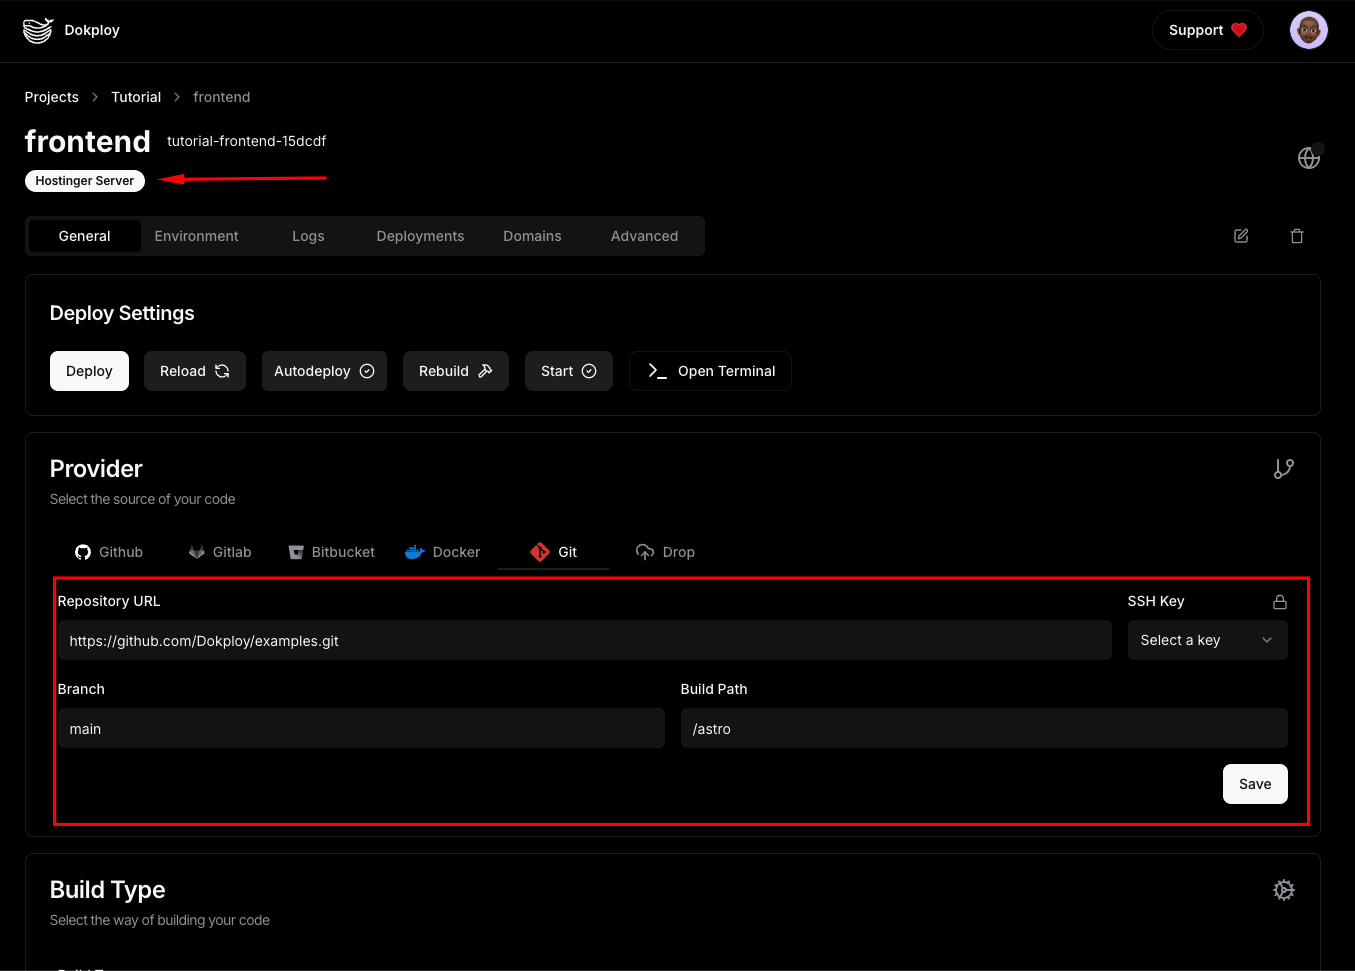
- Create or import a project
- Connect Dokploy to my GitHub or GitLab account.
- Choose the repository to deploy.
- Configure build & deploy
- Define the build type (Dockerfile, Node.js, static site, etc.).
- Set environment variables and ports.
- Assign a domain (e.g.,
dashboard.monjo.eu).
- Deploy
- Dokploy builds the image, creates the container, sets up the reverse proxy (via Traefik) and requests an SSL certificate — automatically.
- The service is online within seconds.
- Updates
- Any
git pushtriggers an automatic redeploy (configurable per project).
- Any
Advantages I’ve noticed
- Zero manual proxy setup – SSL and domain routing happen automatically.
- Unified dashboard – Everything from logs to environment variables in one UI.
- No more custom Docker Compose clutter – Dokploy generates and maintains them.
- Consistent backups – Volume data and metadata are backed up via Dokploy’s built‑in tools.
- Multi‑server ready – You can connect additional agents to manage several VPSs from the same interface.
- CI/CD built‑in – Git integration replaces my old pull‑and‑rebuild scripts.
Things I learned along the way
- Dokploy’s installer expects a clean VPS — don’t run it over an existing Portainer/NPM stack unless you plan to migrate containers manually.
- The built‑in reverse proxy uses Traefik, which simplifies SSL automation but changes some routing behaviour.
- You can still run raw Docker commands if needed — Dokploy doesn’t lock you out.
- Make sure your DNS records (A/AAAA) point to the VPS before running the installer if you want Let’s Encrypt to succeed.
- The migration was smoother than expected: I exported my Docker volumes from Portainer, imported them in Dokploy, and re‑created the services.
Conclusion
Switching to Dokploy has been one of the most productive infrastructure changes I’ve made in years.
I went from three separate dashboards (Portainer, NPM, CI scripts) to a single cohesive platform that manages everything from build to SSL.
If you’re managing multiple self‑hosted projects or microservices and want something cleaner, Dokploy is absolutely worth trying.
You’ll spend less time configuring and more time deploying — exactly how it should be.